Saturday 25 February 2017

Ada and Tom

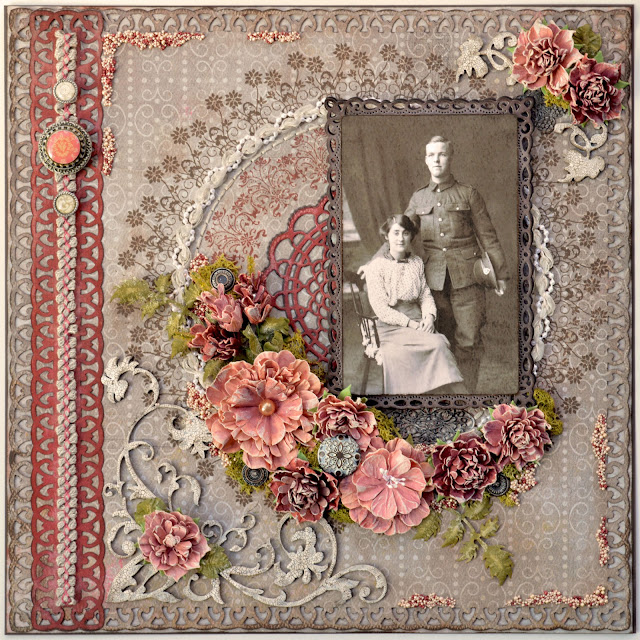
My great-aunt Ada and her husband Tom


For this layout, I used an old piece of Authentique paper from their Blissful collection.


Authentique - Blissful - Euphoria
(I used the backside)


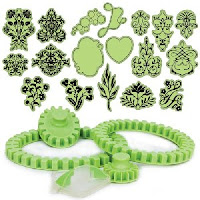
I stamped two floral circles with Inkadinkado Stamping Gear using stamps from the Deluxe Set 1 and Butterfly Garden set.


Stamping Gear Deluxe Set1
Stamping Gear - Butterfly Garden


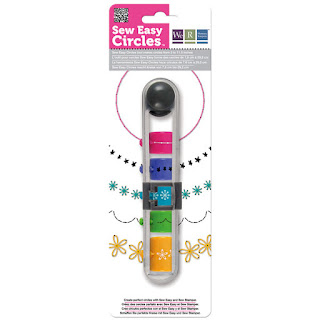
I also stitched a circle in between the 2 stamped circles using the We R Memory Keepers Sew Easy Circles tool to punch the holes for stitching and glued some ribbon along this edge.


These are the punch and dies I used:


Martha Stewart punch
-French Scroll
Cheery Lynn Designs
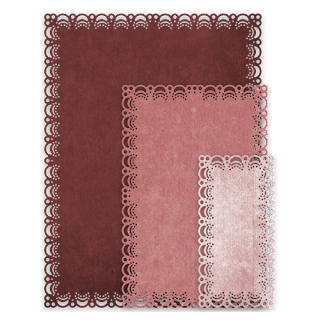
-Daphne Doily
Spellbinders
 -Romantic Rectangles


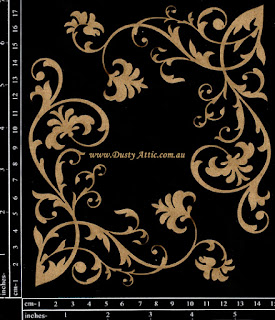
These are the chipboard pieces I used:


Dusty Attic - Corner Flourish #2
Dusty Attic - Botanic Accent #2


I painted the chipboard pieces dark brown then applied Distress Crackle paint in Picket White.  I rubbed brown ink overtop, wiping off the excess then went back with a craft nib and applied more ink around the edges.


All the flowers and leaves are by 49 and Market from their Vintage Shades collection in the Cerise colour.


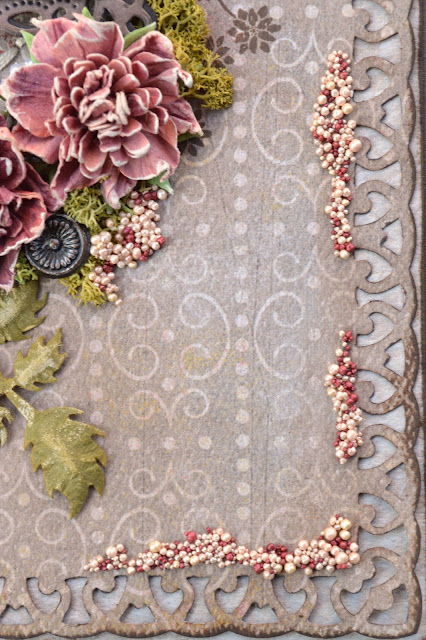
I also tucked some reindeer moss among the flower clusters and glued some Prills around the layout. I mixed the Fuzzy Navel and Stop Wining coloured Prills.


Thank you so much for taking a look!


Monday 20 February 2017

George and Tammy

My grandfather George and his younger brother Tammy around 1909


For this layout I used a piece of Blue Fern Studios paper for the background and some old My Mind's Eye papers for the die-cuts.


Blue Fern Studios - Tranquility - Peaceful


This is the die set I used for the layers:

Cheery Lynn Designs - Horizon Rectangle


I used the two smaller dies from the set and cut them out of four different colours, layering them each over a black copy to accentuate the edges.


This is what the page looked like after applying most of the die-cuts except the 2 darker ones directly under the photo.


These are the Dusty Attic chipboard pieces I used:


Skeleton Clock Faces
(I used the second largest one)
Grass Clusters #2
Mini Grass Clusters #2


For the Skeleton Clock Face, I painted it dark brown and applied white Viva Decor crackle paint on top.  After it was dry I brushed it with some Lindy's Stamp Gang spray (Sandra Dee Sepia) and wiped off the excess.  I then cut the clock into 3 pieces.


For the grass clusters I just painted them dark brown and did a streaky wash of lighter brown overtop.


I also glued random patches of Prima Art Stones around the layout and painted some diluted Lindy's Stamp Gang South Shore Sand spray overtop.  I used the same spray around the edges of the background paper, applying it with a paintbrush here as well.


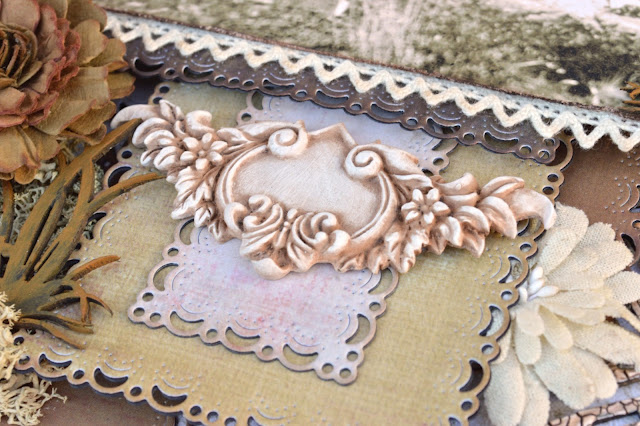
For the Prima resin piece under the photo I brushed it with Parthenay Artisan Powder and wiped off the raised areas with a slightly damp paper towel.


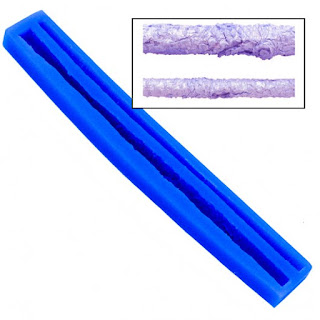
The logs in the lower left of the layout were made with a mold and Sculpey Ultra Light clay.  I cut the larger piece after baking and painted two of them to use in this layout.

First Impressions Molds - Wood Border Set


I also tucked in some reindeer moss and small stones among the flower and grass clusters.


Thank you so much for taking a look!


Wednesday 15 February 2017

The Palm Garden

My grandfather George (left) and his brother Tammy
 in the Palm Garden at the Battle Creek Sanitarium in Michigan
around 1911


For this layout I used a piece of Blue Fern Studios paper for the main background and several very old My Mind's Eye papers from their Signature Suite and Signature Life collections for the border on the right, the foliage and the mat layers under the photo.


BFS - Tranquility -Blissful
 ( I used the backside)


I ripped the right side off the Blissful paper and stained the edges with diluted espresso distress ink from a re-inker bottle using a paint brush.  I then inked the edges in black chalk ink using an ink pad.


I used a punch along the border of MME paper and glued it over top of the strip of paper I had ripped off the Blissful piece and then glued this to the rest of the ripped Blissful paper.


Martha Stewart punch - Stained Glass Pattern


I used a punch for the brown mat and a die cut for the pale blue one (layering them over a darker version to accentuate the edges more).
Martha Stewart punch - Cherish
Spellbinders die - Devine Floral


These are the Tattered Lace dies I used for the fern leaves:

Paradise Ferns
Ferns
Ornate Leaves


I cut the palm leaves using my very old Silhouette SD.  I prefer to use dies but I couldn't find a palm one that I liked.  My Silhouette wouldn't cut cleanly through the brown patterned cardstock but it cut beautifully through the black cardstock that I layered the pieces over.  I had to clean up the patterned pieces with an utility knife and used a marker to touch up the rough edges.


The pale blue flowers were made with 3 different sizes of 5 petal flower punches.  I traced around each layer with a chocolate-coloured Zig writer (I like these markers because they are waterproof and don't bleed).   I misted them slightly and shaped the layers with a ball stylus before gluing the dried layers together pressing in the middle with the stylus.  For the tiny flowers I picked out some larger Express-O-Yourself coloured Prills from the jar and glued one in the center of each flower.


I also glued some patches of Express-O-Yourself Prills to the top and bottom of the layout.  They looked a bit too heavy and dense so I rubbed some pale blue paint over top with my fingertip to accentuate the texture and lighten the look.


For the chipboard border under the photo I painted the piece brown, applied clear ink and then heat embossed it with Weathered Wood Distress Embossing Powder.  After that I rubbed it with white paint using my fingertip and applied brown chalk ink around the edges.
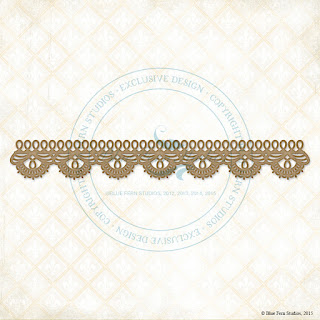


Blue Fern Studios - Scalloped Border


Thank you so much for taking a look!


Friday 10 February 2017

Lorna and David


My Mother-in-Law and her brother when they were little


For this layout I used some older paper in my stash from Authentique's Fresh collection.


Authentique - Fresh - Clear
Authentique - Fresh - Clean
Authentique - Fresh - Pure
Authentique - Fresh - 6x6 pad


This layout was all about the die-cuts.  Counting all the flower layers, leaves and the the layering of each printed rectangle and doily die-cut over a black version to accentuate the edges, I used 62 die-cuts in total.

These are the dies I used:

Spellbinders - Astoria
Decorative Elements
Cheery Lynn Designs
Eastern Star Doily
Cheery Lynn Designs
Ambergris Tiny Doily

Spellbinders - Rose Creations
Spellbinders - Nested Leaves


For the flowers and leaves I used coordinating stamps.


Heartfelt Creations
Botanical Floral 1
Heartfelt Creations
Distressed Leaves


I also punched around the edges of the layout.

Martha Stewart punch - Flourish Lace


The chipboard pieces were by 2Crafty and some really old ones from my stash by Maya Road.

2Crafty - Ruthanne corner
Maya Road - Mini Scrolls


I painted the chipboard pieces black,  applied a white crackle and inked around the edges with creamy brown chalk ink.


The little bunny and teddy bear were made with a mold and Sculpey Ultra Light then painted.


Sunflower Sugar Art - Baby Accessories III


Thank you so much for taking a look!