Saturday 30 January 2016

Wash Tub Boy

My father when he was a little boy, having a bath outside in a wash tub


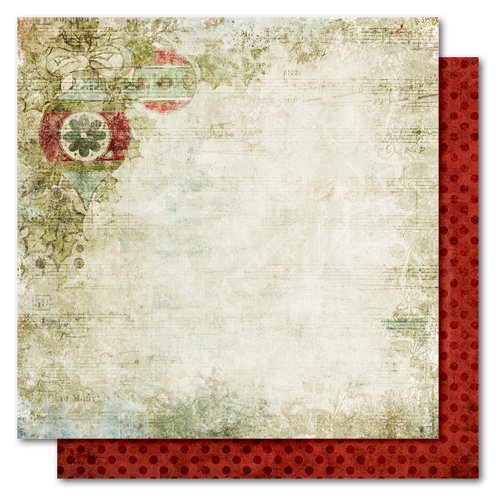
I'm loving the Blue Fern Studios "Timeless" collection so you will probably be seeing a lot more of it in my future posts. For this layout I used the Maconnerie paper.


On the background I used a couple of different stencils. With the Lattice Work stencil I used shades of brown paint and with the Dandelion stencil I used molding paste mixed with Pearl Ex powder (Micropearl) and a tiny hint of cream coloured paint.


Tim Holtz layering stencil -
Lattice Work
DecoArt stencil - Dandelion


I also did some stamping with a Blue Fern Studios stamp and Distress Ink in the Seedless Preserves colour.  I also inked around the edges of the paper with this colour.  When I later wet the edges of the paper to distress it, the dye-based ink bled quite a bit so the stamped image is a little fuzzy.


Blue Fern Studios stamp - Arcadia Textures


These are the chipboard pieces I used:

Blue Fern Studios - Pretty Weeds
Wycinanka - Twig of Cherry Blossoms


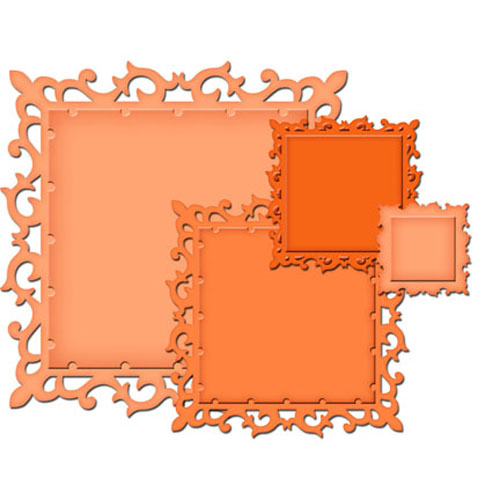
2Crafty - French Lace border


For the dandelion "Pretty Weeds" chipboard pieces I painted them, applied Liquid Pearls (white) on the top part to give them dimension and applied Ranger Matte Accents (which they don't make anymore but they do still make Glossy Accents) to the stems to add some dimension there.  The center of the large dandelion was made with Sculpey Ultralight and the "Assorted Centers" mold from First Impressions Molds.


I painted the cherry blossom pieces and coated them with the Matte Accents as well.  


The French Lace border was painted green then sprayed with Lindy's Stamp Gang Flat Fabio Spray, Sandra Dee Sepia while the paint was still wet.


I mixed several colours of Vintaj Patina Paints to try and get colours I liked for the metal pieces, dabbing them on and also blending them at the same time.  I sanded the pieces lightly afterward but the end result was a little duller than I liked so I randomly applied the Seedless Preserves, Distress Ink and then Maroon Color Box Chalk Ink and dried the ink with my heat gun.  Tiny brads fit perfectly through the little holes in 2 of the metal filigree pieces so I affixed them to the paper using those.  The square/diamond piece did not have a hole in the centre so I clipped the ends off the brad and glued it on top.


The pretty lace around the photo was purchased from an Etsy shop called Ming Ming World.


I tucked little pieces of reindeer moss into the flower clusters.


I didn't use any die-cuts on this one.  I hope no one is disappointed, lol.


Thanks so much for taking a look today!


Tuesday 19 January 2016

Magical December

My son, Evan, on Dec.3, 2007


I used some more papers from the old Holly Jolly collection by My Mind's Eye and an old piece from Fancy Pants Design's Tradition collection for this layout.


MME Holly Jolly -
Ornamental
MME Holly Jolly -
Plaid
MME Holly Jolly -
Jingle Bells

Fancy Pants Designs - Tradition -
Holiday Sentiments
MME Holly Jolly -
Winter Branches
(I used the backside)


These are the dies and punch I used:


Lifestyle Crafts - Nesting Doily Circles
Spellbinders - Postage Stamps
Spellbinders - Fleur de Lis Squares

Tim Holtz decorative strip die - Festive Greenery
Martha Stewart deep edge punch -
 Scallop Snowflake


For the cedar leaves cut with the Festive Greenery die, I flipped them over and traced around the edges with a black marker (I use Zig Memory System markers) to accentuate the edges (probably more work than the subtle difference was worth but the perfectionist in me had to do it, lol).


The cardinal was made with Sculpey Ultralight using a mold and then painted.


First Impressions Molds -
Bird Trio with Nests


The mini pine cones are natural ones I bought at a craft store and then dry-brushed with white paint.


Same as the one in my previous layout, the snowflake doily was cut from thin chipboard using a Cricut and the Close to My Heart, Art Philosophy cartridge.  I applied clear ink and heat-embossed it with Stampendous Fran-tage embossing enamel in Shabby White.


The long snowflake flourish chipboard piece was a really old one from my stash made by the now defunct Riff Raff Designs.  I embossed that piece with Fran-tage embossing enamel in Aged Ivory.


For more information about other products I use, you can check out my scrapbook.com gallery where I often link products to their store.


Thank you for taking a look!

Monday 18 January 2016

Happy in the Snow

My son, Colin on Feb. 2, 2011


The background paper I used for this one is from an old My Mind's Eye collection, Holly Jolly.  The die cuts were made from various Basic Grey plain papers and  Holiday Sentiments paper from the Tradition collection by Fancy Pants Designs.


MME - Holly Jolly - Candy Canes 
Fancy Pants Designs - Tradition - Holiday Sentiments


These are the dies I used:


Spellbinders - Locking Loops
Spellbinders - Romantic Rectangles 2
Spellbinders - Marvelous Squares
Spellbinders - Captivating Squares
Spellbinders - Postage Stamps
Spellbinders - Large Deckled
Mega Rectangles
Spellbinders - Small Deckled
 Mega Rectangles


These are the chipboard pieces I used:


2Crafty - Cartia's Swirl
Dusty Attic - Snowflakes


The large snowflake doily was cut from very thin chipboard using a Cricut and the Close to My Heart Art Philosophy cartridge.  I heat-embossed all of the chipboard pieces with Stampendous Fran-tage embossing enamel in Shabby White.  Sometimes I paint the chipboard first but this time I just used clear ink on the bare chipboard before sprinkling with the embossing powder and melting it with a heat gun.


I'm not sure why the snowflake doily doesn't look as sparkly as the other pieces.  I cut and embossed that piece quite a while ago but hadn't used it yet so it's possible I might have done something different that I don't remember (perhaps I added some Chunky White embossing enamel too). It could also be that the different sized granules had settled in the container and more of the gold sparkles had concentrated near the top now.


The little green mittens and the circles border were made with Sculpey clay using a mold and then painted.

Best Flexible Molds - Let it Snow
Lisa Pavelka mold -
Daisy Chain Border


Around the outer edge of the background paper, the snowflakes and some of the crystal pieces, I did some subtle watercolour shading.

I don't often mention this because it seems a minor detail to me but you can take it as a given that I ink around the edges of the paper and die-cuts in almost every layout I do.  I often do that with the flowers as well, or dry brush them with paint to highlight the texture.


Thank you for taking a look today!