|
| My great-grandmother Rachel |
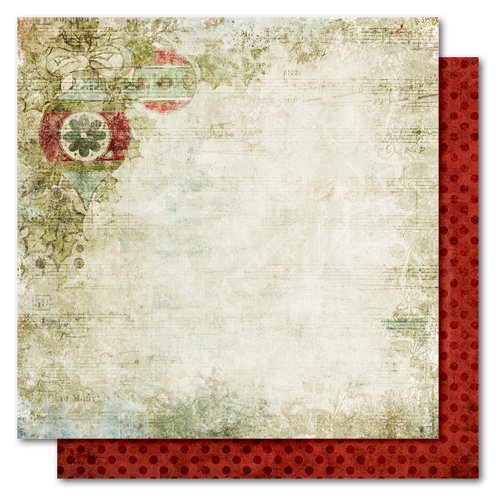
For this layout, I used a piece of Ciao Bella paper for the background.
 |
| La Traviata paper pad - Ciao Bella |
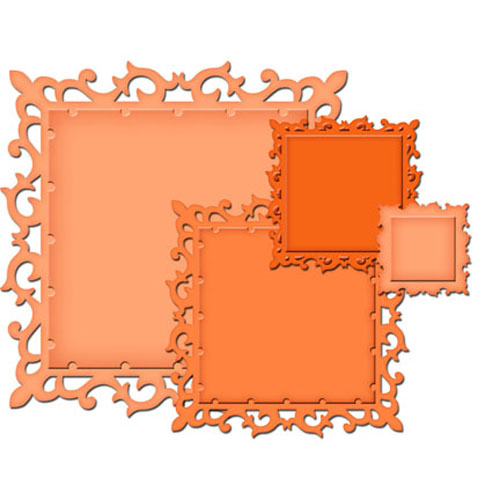
These are the dies I used:
 |
Doily 3
- ScrapMan |
|
 |
Schiffli
- Tattered Lace |
|
 |
Mini Ruffled Rectangles
- Tattered Lace |
|
 |
Large Sweet Peony
- Heartfelt Creations |
|
 |
Small Sweet Peony
- Heartfelt Creations |
|
 |
Happy Birthday Frame
- ZFParty (AliExpress) |
|
 |
My Favorite Things
- Four Corners |
|
 |
Flower Circle
-Store No.4772042 (AliExpress) |
|
I made the burgundy flowers using the Sweet Peony dies, Heartfelt Creations 3D Floral Basics Shaping Mold as well as the stylus tool from their Deluxe Flower Shaping Kit.
 |
| 3D Floral Basics Shaping Mold - Heartfelt Creations |
Instead of misting the white die-cuts with water before running the mold through my BigShot, I brushed them with Lindy's Stamp Gang Burnt Umber Vintage Spray and Autum Maple Crimson Shimmer Spray (a very messy process but I liked the end result). I then used a glue gun to layer the die-cut flowers and finished them off with some Prills in the center.
These are the chipboard pieces I used:
 |
Celtic Border 3
- Creative Embellishments |
 |
Dripping Heart Lace Border
- Creative Embellishments |
 |
Fancy Trim #7
- Dusty Attic |
I heat-embossed the Creative Embellishment borders with Stampendous Seasonings Embossing Enamel and the Dusty Attic Trim with Stampendous Aged Scarlet Embossing Enamel.
This is the mould I used:
 |
| Curio Findings - Prima |
I used Sculpey UltraLight to make the curio pieces. After baking and cooling the pieces, I painted them with brown Prima Rust Paste. I then rubbed and brushed them lightly with a couple of colours of Prima Metallique Wax (Rich Copper and Old Silver).
I also used the Rich Copper wax on the metal flourish and little plastic medallion pieces in the flower clusters.
Thank you so much for taking a look.