Monday 14 December 2015

Wake-Up Time

My son, Colin, in February 2004, waking up from his afternoon nap


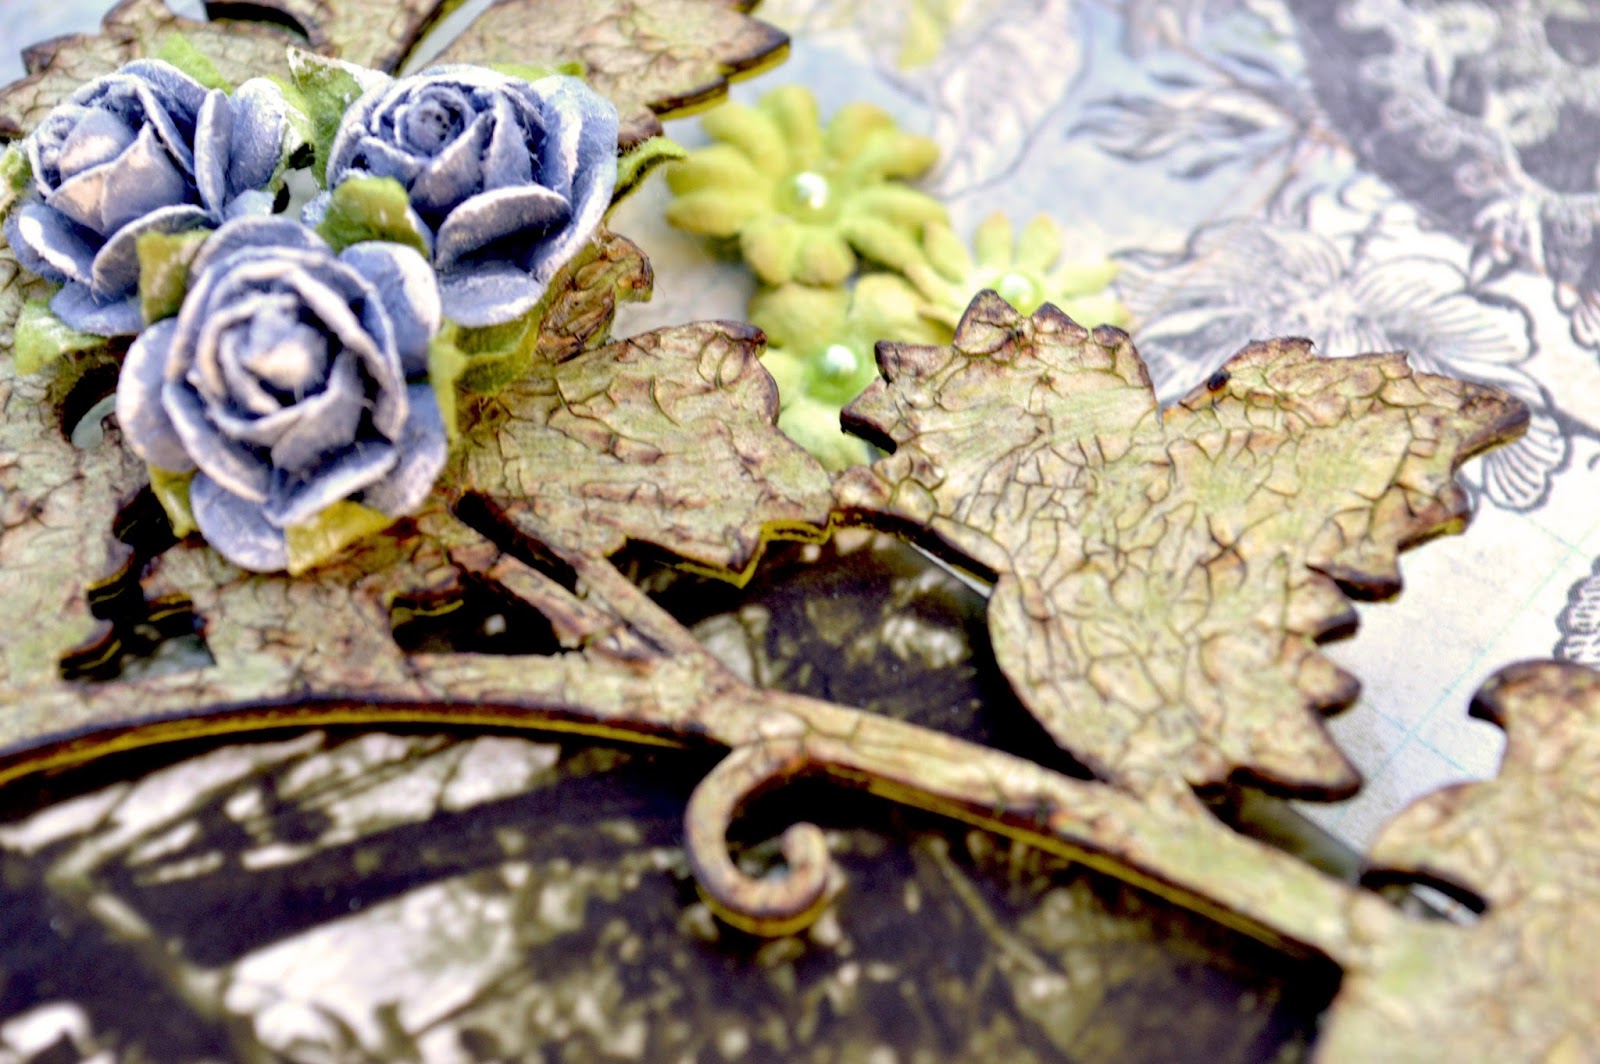
This layout isn't very complicated.  A bit of stencilling and punching but mostly just clustering of embellishments, finishing touches of paint over some of the embellishments, inking around the edges of the flowers and background paper and that's about it.

I used a piece of Prima paper from their Timeless Memories collection for the background.

Timeless Memories - Spirited
(I used the backside)


I used a stencil and molding/modelling paste that I mixed with a bit of paint to create a subtle pattern on the background paper.

Prima stencil - Floral Petites


The punching around the edges was a bit frustrating.  That punch doesn't seem to work properly for me anymore.  It doesn't cut all the way through unless I put a great deal of pressure on it (I had to step on it with my heel while trying to keep the paper from shifting).  Mucked up the punching along the bottom at one point when the paper shifted and then I attempted to re-punch it (tried to cover most of that with embellishments).  The part on the upper left didn't quite punch all the way through at the top but I decided to just leave it as is.


EK Success - large edger punch - Argyle


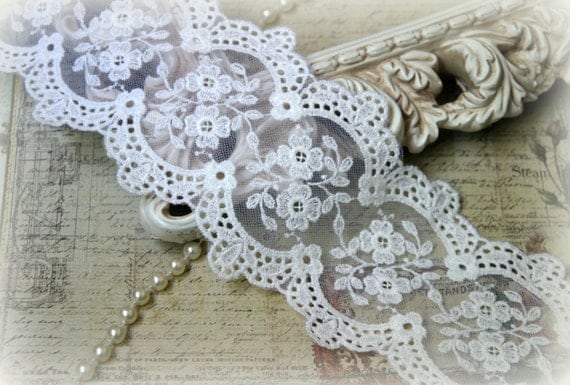
The mesh border around the photo was made from pieces of drywall tape that I painted brown. The back of the drywall tape lost most of the stickiness after I painted it so I applied some multi-matte medium on the back with a paintbrush to glue it down.


I had some old craft paint that was almost the same colour as parts of the background paper so I dabbed this onto the metal embellishments to tone down the contrast and shine and give them an antiqued look.  I buy a lot of my metal embellishments on eBay (search for filigree jewelry wrap).  The metal gears were purchased from Michael's Arts and Crafts.


The chipboard pieces are by Wycinanka


Wild Rose corner ornaments
Wild Rose ornaments


Thanks so much for taking a look!


Friday 4 December 2015

Rose

My husband's great-grandmother


For this layout I used some paper and flowers from Prima's Menagerie collection.


Menagerie - Penny for Your Thoughts
Menagerie - Fly Free
Menagerie - Helena


I did some stencilling on the background with molding paste mixed with Pearl Ex powders.

Prima stencil - Decor 1


Around the edges I used some stamps dipped in a thin layer of paint (that I mixed to match the colour of the die-cuts).

Stampers Anonymous - Bitty Grunge
(I used the lower left stamp)
Stampers Anonymous - Urban Tapestry
(I used the upper right stamp)


I  inked the edges of the background paper with black Archival Ink, let that dry, and then wet the edges and distressed them, curling them over with my fingers.  I glued this piece onto the backside of the Fly Free paper (which I cut the center out of to use for the inner mat of the photo) and then glued that to a black piece of cardstock.


The wide piece of lace was from an Etsy shop called Tresors de Luxe.


The other laces and the resin pieces are by Prima.


These are the dies I used:

Cheery Lynn die - Horizon Rectangle
Prima die - Parisian Lace
Prima die - Emmanuelle Fleurs


The chipboard grass pieces are by Dusty Attic.


Grass Clusters #2
Mini Grass Clusters #2


The string with bows is by May Arts.

May Arts - Wired String w/ Mini Raffia Bows


Thanks so much for taking a look!


Monday 23 November 2015

Paul


I haven't felt much like scrapping lately.  This page had been sitting around for a couple of months essentially finished except for levelling things with foam tape and scrap bits of chipboard and then gluing everything down.  I finally got around to completing it so here it is.

My husband, Paul, when he was little


For this layout, I used papers from Prima's Nature Garden collection.


Nature Garden - Primrose
Nature Garden - Fairy Godmother
Nature Garden - Candelas
Nature Garden - Meeting a Fairy


I added blue watercolour paint (carefully mixed to try and match the blue of the butterfly in the die-cut) around the edges of the background paper.


I also used a yellowy-green pencil crayon to colour in some of the flowers in the background paper.


These are the dies I used:


Cheery Lynn Designs -
Lilith Doily
Lifestyle Crafts -
Nesting Lace Rectangles
Spellbinders -
Romantic Rectangles


As usual, I layered the die-cuts over a darker version to accent the edges.


These are the chipboard pieces I used:


Dusty Attic -
Vine Corner #2
Wycinanka -
Sweet Dreams bordery
Dusty Attic -
Flutterbies #3
Wycinanka -
Wild Rose corner ornaments

Wycinanka - zawijaski ozdobne, małe


It's been so long, I can't even remember every detail in how I finished the Vine Corner chipboard piece anymore.  I remember painting the chipboard and then applying Sanssouci Viva Crackling Colour.  I wanted to tone down the glossy look of the crackle so I sprayed it with a matte finish. Perhaps I applied the spray too heavily or before the crackle was thoroughly dry because it seemed to kind of flatten the crackle.  After that I did some inking around the edges and I think I rubbed ink over the top and wiped off the excess.  I'm sure there were probably some steps where I tried one colour and didn't like it so tried another because nothing ever seems to work out the way I like on the first try.


The chipboard butterfly was painted and the Wild Rose corner ornament was stained with watercolour paint while the other two pieces of chipboard were left plain.


Directly underneath the photo is a craft stick wrapped diagonally with washi tape.


The two medallions on the centers of the doily die-cuts were made with a mold and Sculpey Ultralight clay.  I painted them, dry-brushed white paint overtop to highlight the details, applied some very watery brown paint to "antique" them and inked around the perimeter with dark grey ink.


First Impressions Molds - Medallion Set 1


Thanks so much for looking!