|
| My great-aunt, May |
I used an old photo of my great-aunt May, taken sometime in the 1910's. I'm not sure why she was dressed up like an 18th century boy (perhaps for a game of dress-up or a school play). I tinted the scanned photograph to go better with the background papers.
For this layout I used papers from the Blue Fern Studios, Timeless collection and some plain brown Basic Grey papers for some of the die-cuts.
 |
| I used the backside for the background of the layout |
|
 |
| I used the backside for the outer mat of the layout |
|
 |
I used the card on the middle left
behind the window chipboard piece |
|
 |
I used the backside for some of the square die-cuts
and foliage die-cuts |
|
|
 |
I used the backside of this for the dark brown large doily
and mini doily die-cuts and the mat behind the photo |
I carefully ripped the Freedom paper, trimmed and distressed the edges before tinting the exposed white core of the paper with some diluted ink. The pink was a mixture of Milled Lavender and Tattered Rose Distress inks. I then added a hint of brown ink to the edges ( a mixture of Distress inks I can't quite remember because I tried a bunch of stuff before I got a colour I liked). I glued the ripped, distressed pieces to the Abode paper with Beacon's 3-in-1 glue (it's messy but I like using this glue because it has some initial tackiness so things stay in place but I also have some time to slide things around slightly if they aren't quite positioned right).
These are the chipboard pieces I used:
|
 |
Blue Fern Studios -
Lisa's Window |
|
 |
Blue Fern Studios-
Mixed Chains |
|
 |
| Dusty Attic - Elegant Swirl #13 |
For the window I painted it dark brown and then applied Tattered Rose, Distress Crackle paint. I rubbed various colours of brown and grey ink overtop to highlight the cracks more (wiping off the excess). I also used a waterproof brown marker to accentuate the edges. I then cut a piece from the Calling Card paper and glued the window on top. Once this was dry I applied Ranger Glossy Accents into the "window panes" to look like glass. I weighted the edges of the window down while this was drying because the paper and window started to warp.
I tried heat-embossing the swirl pieces with a couple of different powders but didn't like it so I mixed some paint to roughly match the colour of the window and painted over them. Then I dry-brushed white paint overtop so the colour didn't look so flat.
The small chain piece under the window was heat-embossed with Rust, Embossing Antiquities. I also used the brown marker to accentuate the edges and dry-brushed it with a little of the same paint I had mixed for the swirls.
These are the dies I used:
 |
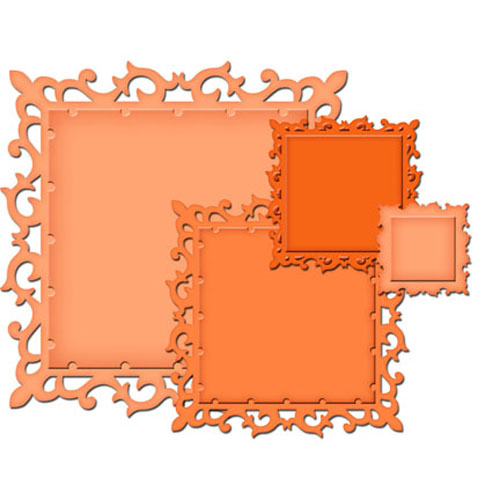
| Spellbinders - Fleur de Lis Squares |
|
 |
| Spellbinders - Floral Assortment |
|
 |
Cheery Lynn -
Canadian Kaleidoscope Doily |
|
 |
Cheery Lynn -
Canadian Kaleidoscope Tiny Doily |
| |
 |
| Tattered Lace - Ferns |
As usual, I glued all the die-cuts over a dark version (in this case, black) offsetting them slightly to accentuate the edges. I inked around all the edges as well. For the brown fern leaves I dipped my finger in the paint I had mixed earlier for the chipboard swirls, tapped off the excess on my craft mat and dragged my finger across the leaves. I also used this paint to highlight the edges of the roses and the details of the metal corner piece at the bottom left of the photo.
At a few random places along the edges of the layout I applied blobs of white glue, sprinkled on some mica flakes, beads, and embossing powder and melted it with my heat gun. I then glued a bit of netting, a few more flakes and embossing powder and very briefly heated it (the netting will melt and dissolve if too much heat is applied). A few small flowers were added at the end.
 |
| Mica Flakes - Henna |
|
 |
| Mica Flakes - Mulberry |
|
Thank you so much for taking a look!