(for
Tresors de Luxe)
 |
| My mother (right) with her younger sister in the late 1940's |
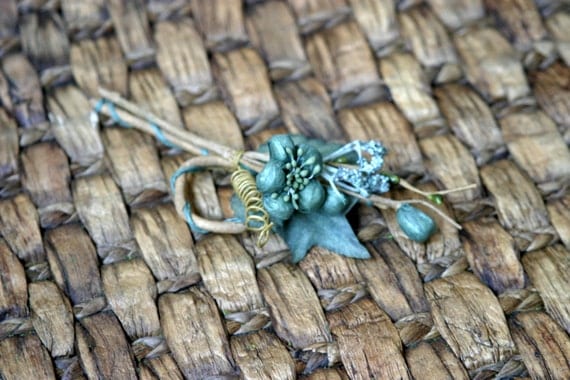 |
| Rustic Shabby Chic Flower Embellishment |
|
|
For this layout I used paper by Riddersholm Design from their Vintage Venture collection.
These are some of the other products I used:
 |
| Spellbinders die - Large Deckled Rectangles |
|
 |
| Spellbinders die - Small Deckled Rectangles |
|
 |
| Spellbinders die - Large Deckled Mega Rectangles |
|
 |
| Spellbinders die - Romantic Rectangles |
|
 |
| Spellbinders die - Small Deckled Mega Rectangles |
|
 |
| Spellbinders die - Marvelous Squares |
|
 |
| Memory Box die - Quinn Flourish |
|
 |
| Martha Stewart PATP punch - Quilted |
|
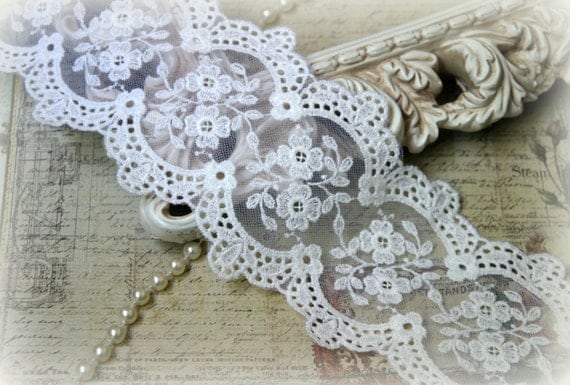
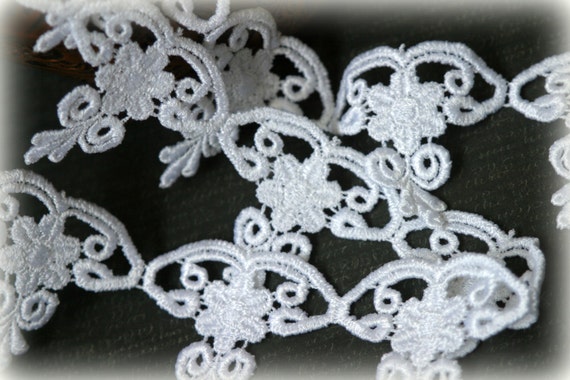
Here is the layout after I had placed the diecuts and most of the lace.
I sprayed some of the lace with pink and turquoise mists. It turned out much too bright so I washed the lace under the tap to get as much of the colour out as possible. When it was dry I sprayed it lightly with Walnut Gold Glimmer Mist to dull down the colour some more.
The frame around the photo was made with wired thread. To make the loose ringlets I put the narrow handle of a small paintbrush along the straight wires, wrapped wire around both the paintbrush and straight wires then pulled out the paintbrush handle.
 |
| Prima Wired Thread - Dusty |
| 
|
Here are some closeups of the layout:
Thanks for looking!


WOW Tracy! So many wonderful details! I love the design of this LO and the dainty colors. As always, the punch & die work is awesome! The paper is gorgeous! Always such a pleasure reading your details and seeing the close up photos. I love always enjoy viewing your work. Lisa : )
ReplyDelete