Sunday, 17 January 2016

Lucas and Brenna

My nephew and niece when they were younger


Well, it only took me about three years to finish this layout, lol.  I didn't like how it was going so I put it away and would periodically take it out, make a couple of minor additions, get frustrated and put it away again.  Finally decided a miraculous transformation wasn't in the cards so I might as well just get it done.  Actually finished it a couple of weeks ago but felt hesitant about posting it.


I used some old Prima papers from their Cavalier collection and a polka dot digital paper, from the sadly defunct Jenwilsondesigns.com, that I printed up.


Cavalier - Gentlemen's Best
Cavalier - Inamorato

I punched the top and bottom edges of the Gentlemen's Best paper with the Martha Stewart deep edge punch, Deco Tassel, and set eyelets in the small circles of the punched pattern.

MS punch - Deco Tassel


These are the other punches and dies I used:
Martha Stewart punch - Stained Glass
Ek Success punch - Scalloped Scallop


Cheery Lynn die -
 Canadian Kaleidoscope Tiny Doily
Cheery Lynn die -
Canadian Kaleidoscope Doily


I coloured the lace pieces with watery paint.


For the chipboard pieces, I painted them black and applied Tim Holtz Distress Crackle paint, in Tattered Rose.


Dusty Attic - Corner Flourish #2
Dusty Attic - Ornate Corner #6


Thank you so much for taking a look!


Monday, 14 December 2015

Wake-Up Time

My son, Colin, in February 2004, waking up from his afternoon nap


This layout isn't very complicated.  A bit of stencilling and punching but mostly just clustering of embellishments, finishing touches of paint over some of the embellishments, inking around the edges of the flowers and background paper and that's about it.

I used a piece of Prima paper from their Timeless Memories collection for the background.

Timeless Memories - Spirited
(I used the backside)


I used a stencil and molding/modelling paste that I mixed with a bit of paint to create a subtle pattern on the background paper.

Prima stencil - Floral Petites


The punching around the edges was a bit frustrating.  That punch doesn't seem to work properly for me anymore.  It doesn't cut all the way through unless I put a great deal of pressure on it (I had to step on it with my heel while trying to keep the paper from shifting).  Mucked up the punching along the bottom at one point when the paper shifted and then I attempted to re-punch it (tried to cover most of that with embellishments).  The part on the upper left didn't quite punch all the way through at the top but I decided to just leave it as is.


EK Success - large edger punch - Argyle


The mesh border around the photo was made from pieces of drywall tape that I painted brown. The back of the drywall tape lost most of the stickiness after I painted it so I applied some multi-matte medium on the back with a paintbrush to glue it down.


I had some old craft paint that was almost the same colour as parts of the background paper so I dabbed this onto the metal embellishments to tone down the contrast and shine and give them an antiqued look.  I buy a lot of my metal embellishments on eBay (search for filigree jewelry wrap).  The metal gears were purchased from Michael's Arts and Crafts.


The chipboard pieces are by Wycinanka


Wild Rose corner ornaments
Wild Rose ornaments


Thanks so much for taking a look!


Friday, 4 December 2015

Rose

My husband's great-grandmother


For this layout I used some paper and flowers from Prima's Menagerie collection.


Menagerie - Penny for Your Thoughts
Menagerie - Fly Free
Menagerie - Helena


I did some stencilling on the background with molding paste mixed with Pearl Ex powders.

Prima stencil - Decor 1


Around the edges I used some stamps dipped in a thin layer of paint (that I mixed to match the colour of the die-cuts).

Stampers Anonymous - Bitty Grunge
(I used the lower left stamp)
Stampers Anonymous - Urban Tapestry
(I used the upper right stamp)


I  inked the edges of the background paper with black Archival Ink, let that dry, and then wet the edges and distressed them, curling them over with my fingers.  I glued this piece onto the backside of the Fly Free paper (which I cut the center out of to use for the inner mat of the photo) and then glued that to a black piece of cardstock.


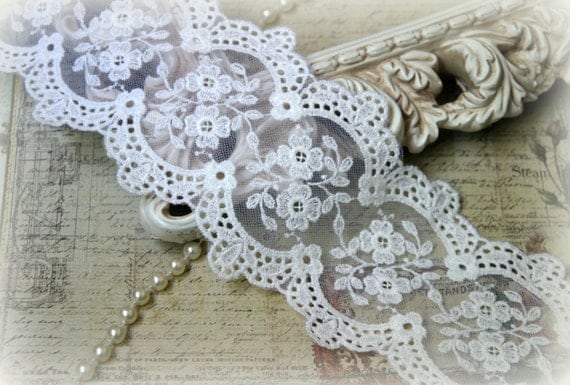
The wide piece of lace was from an Etsy shop called Tresors de Luxe.


The other laces and the resin pieces are by Prima.


These are the dies I used:

Cheery Lynn die - Horizon Rectangle
Prima die - Parisian Lace
Prima die - Emmanuelle Fleurs


The chipboard grass pieces are by Dusty Attic.


Grass Clusters #2
Mini Grass Clusters #2


The string with bows is by May Arts.

May Arts - Wired String w/ Mini Raffia Bows


Thanks so much for taking a look!